Getting Started with Webinar Templates
How do I find webinar templates in my account?
On the top banner of the page click on Templates. Once in the template section, all the templates available will be displayed.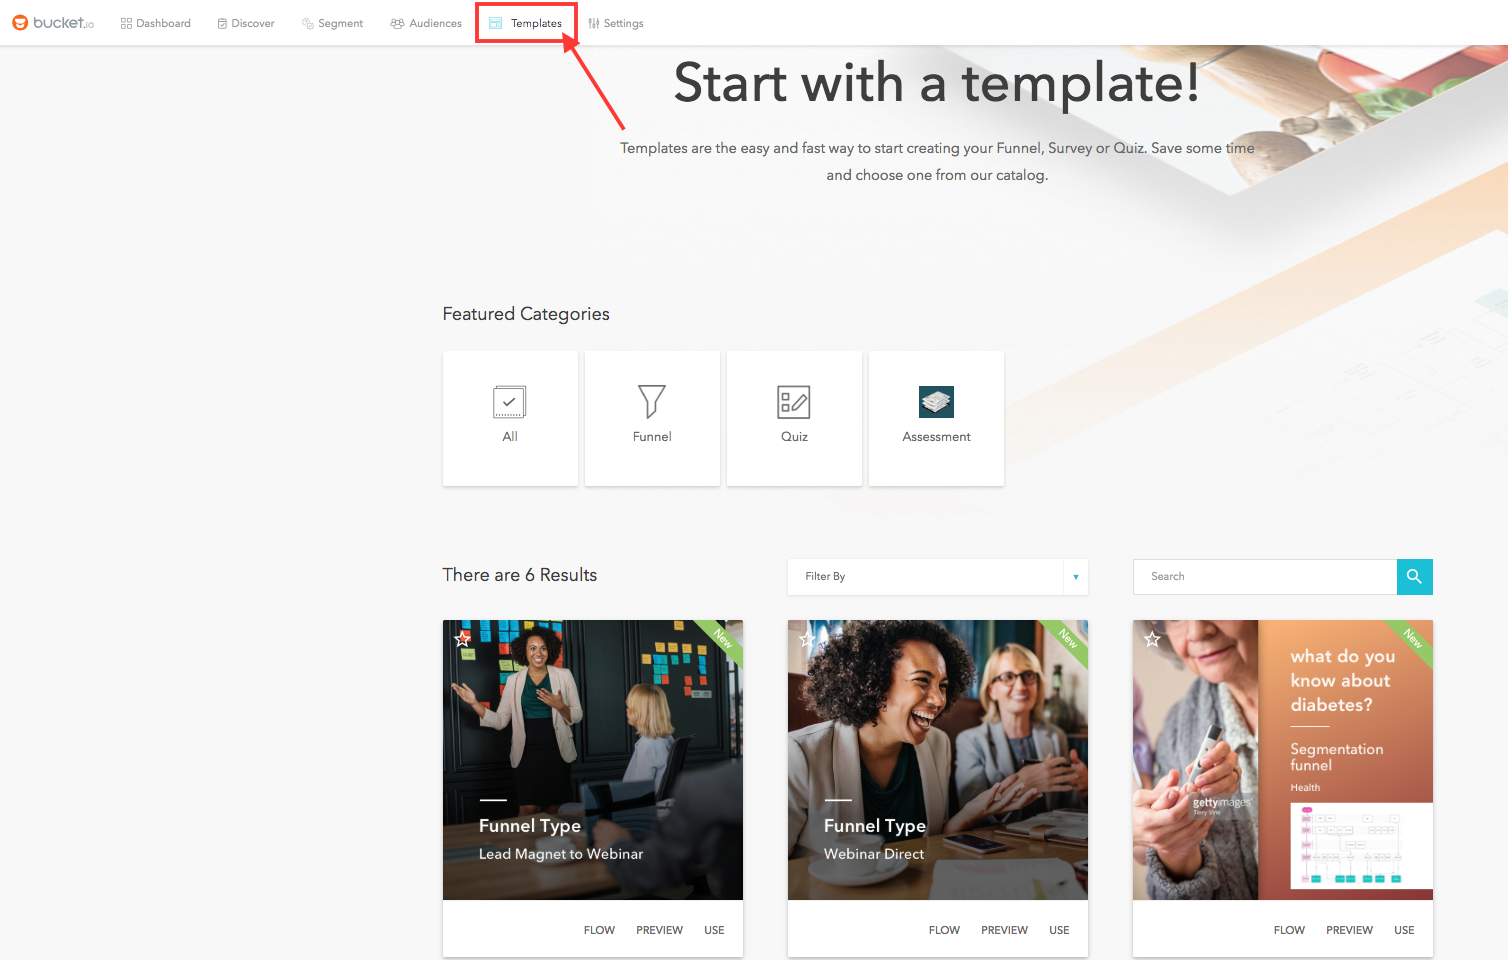
How do I add a webinar template to my dashboard?
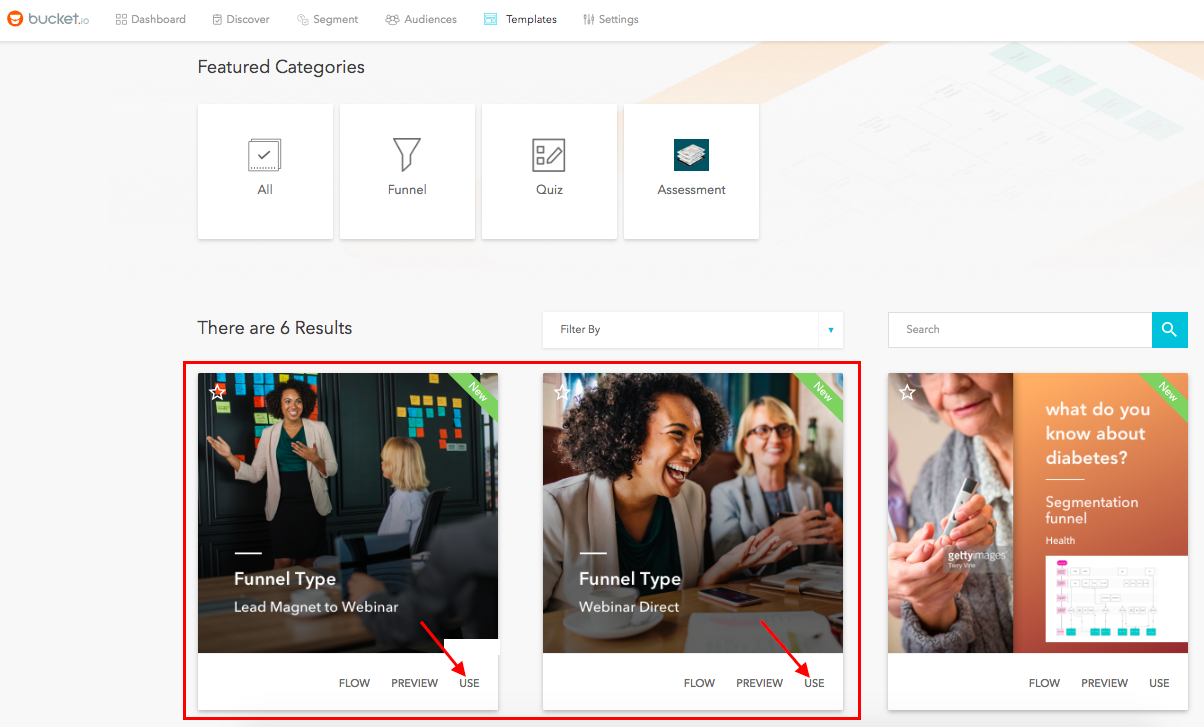
In the Template section, all the templates available will be displayed. Click on the template's "Use" button to begin.
How do I integrate my webinar account with bucket.io?
We recommend reviewing the next articles that are very helpful to integrate Zoom, GoToWebinar, WebinarJam and EverWebinar directly with bucket.io:
- Zoom: "Integrate Zoom Webinars with Bucket.io"
- GoToWebinar: "Integrate GoToWebinar with Bucket.io"
- EverWebinar: "Integrate EverWebinar with Bucket.io"
- WebinarJam: "Integrate WebinarJam with Bucket.io"
How do I add multiple webinar time slots?
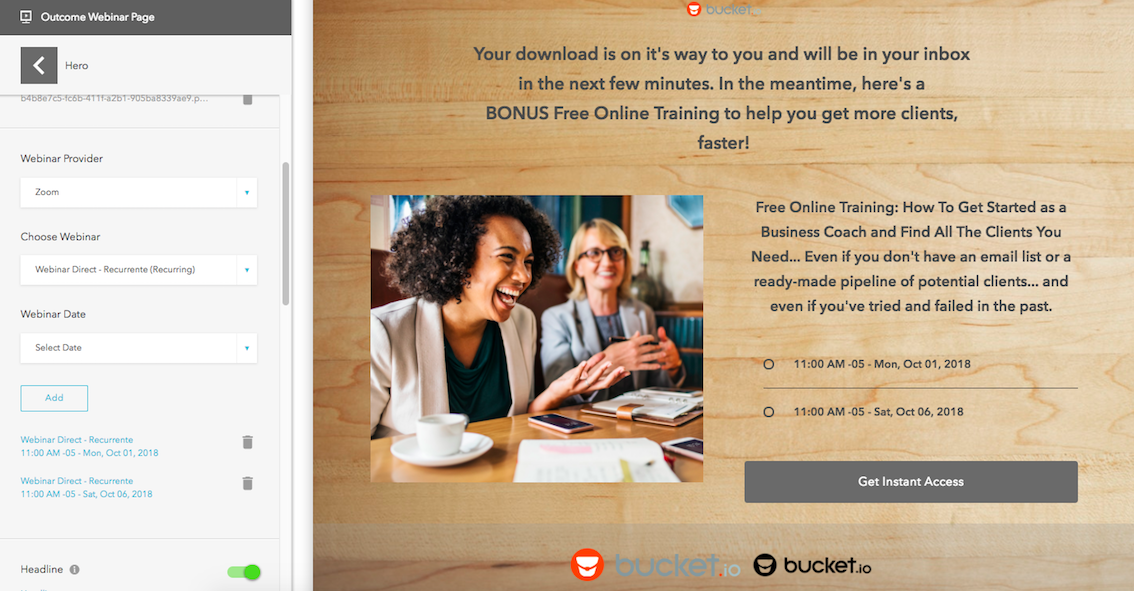
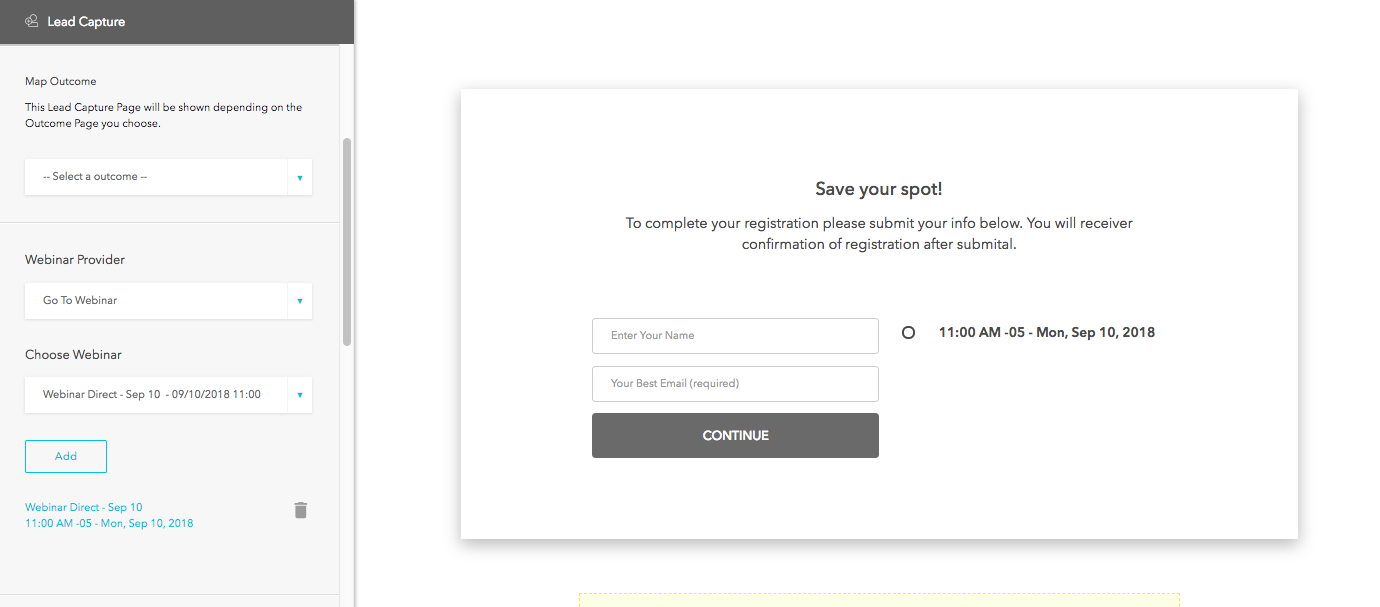
Follow the steps below to add webinar option:- Webinar Provider: Select the Webinar application (E.g Zoom, GoToWebinar, etc)
- Choose Webinar: Select the name of the webinar. Note that If there are more than one date and time options for a webinar, a Webinar Date option will display under Choose Webinar. On the contrary, if there is only one date and time option for a webinar, the Webinar Date option will not be displayed.
- Webinar Date: Select the date and time of the webinar, then click on Add, this action will add that date and time option to the Webinar page or Lead Capture Page. Follow the previous instructions to add multiple date and time options. Additionally, to remove an option, just click on the trash can button located in front of the option added.
Does it support any language?
Currently the bucket.io interface only supports the English language, however bucket.io quizzes are fully customizable, which means that a quiz can be created in any language.
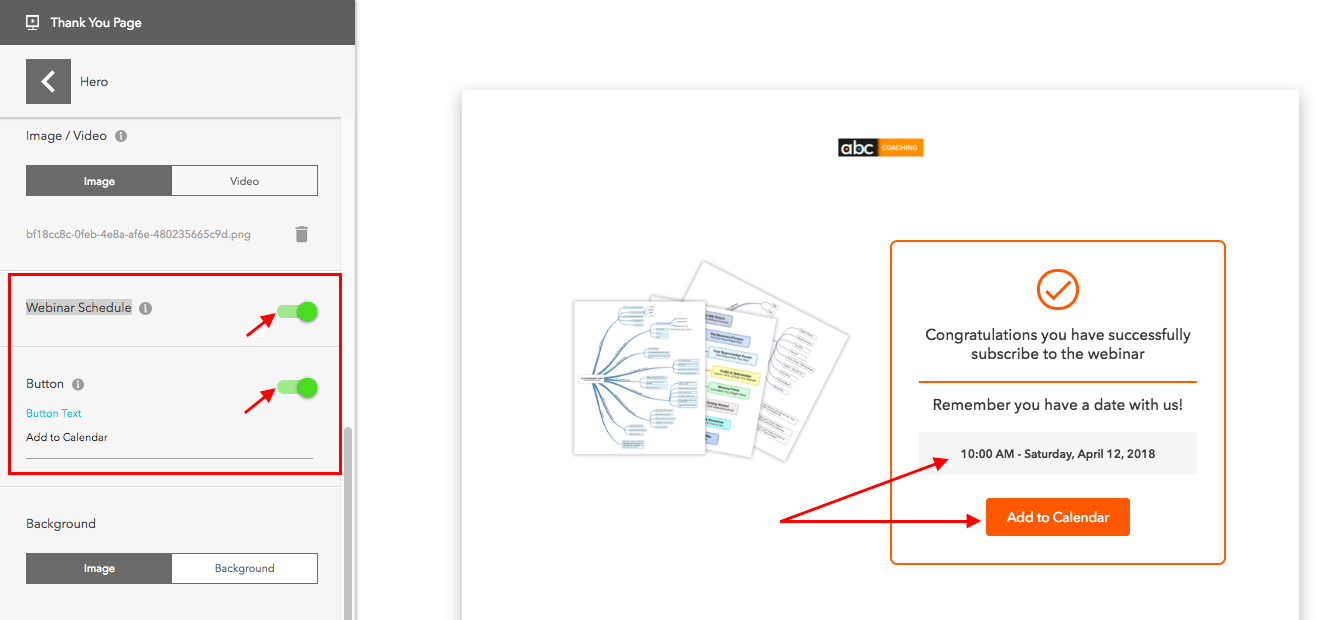
Can attendees add webinars to their calendars?
On the Thank You Page for Webinar quizzes, the ability to add to a Calendar in the scheduled Webinar is available. Enable the "Webinar Schedule" and "Button" options.
Can I add my own logo, background and images to my webinar template?
Backgrounds can be added in the Design section. On the other hand, Social Proof logos can be added in the Hero Section of the Lead Magnet Page and Webinar Page. Images can also be added to every section in the Build portion of a quiz. Note that the recommend size is 2MB max, and bigger images will generate errors and will not be uploaded.Related Articles
How to Build a Webinar Funnel
Learn how to build, design, configure, and publish a funnel using our NEW webinar templates. Webinar replay from August 29, 2018.Day 1 - 5 Days to Success with Bucket.io - Getting Started
In this video, you'll get a high-level overview of the key features you need to get up and running immediately with Bucket.io. Additionally, you'll be provided with the resources you need in case you need help.setting up counter in a webinar registration landing page template
The Counter section can be edited, enabled, or disabled from the Lead Magnet Page section. Once at the Build page for the Lead Magnet, click "Counter" Next, slide the toggle "Activate" switch and set the webinar time (day, hours, minutes, seconds) ...Getting emails from customer service
If you are missing important emails whenever emailing bucket.io support because they are sent to your "promotion" queue, here is a troubleshooting that could help: - Log into your gmail account - Open up the email in your inbox - Hover over the ...Setting up BIO in webinar registration landing page template
The BIO section can be edited, enabled, or disabled via the Lead Magnet Page. Next, click the BIO option The builder will appear and all elements can be edited from here. These are not limited to image, title, body text, call to action buttons, etc. ...