ARTICLE: Student Mobile App User Guide
Student Mobile App User Guide
The Reach Mobile App is designed for use as a transaction platform, it is free and is available for use by all students that have a user account on your Reach Portal. The Mobile App provides access to the major of transaction elements for student users. It is not a complete replication of all functionality available to users in the Reach web portal.
Access to the Reach Mobile App
The Reach mobile app is a free app that is available for use by staff/faculty, students, and parental users of Reach.
User Type Experience
Once you have a profile created via the Reach Web Portal, your login will be set, at this point, you also have access to the Mobile App. The features that are available to your login are dependent on the user type; student/parent or staff/faculty user. Additionally, the accessibility permissions set in your profile affect the features available for you as a user of the Reach Mobile App.
Download the Reach Student Life App
The App is available to download for Android and Apple devices. Search for 'Reach Student Life' App in either the Google Play Store or iTunes store.
KB ARTICLE : How to Access and Use Reach on your Mobile Device
Using the Mobile App as Web Service App
As an alternative to downloading and using the native mobile app from a web store, you can also use the browser on your mobile phone or tablet to use the web service app. Simply go to https://material.Reach.cloud on your device browser for access. Share the web page to your home screen or desktop for an identical experience to downloading the native mobile app.
Logging In
Sign-in to your schools Reach Portal - Open the App, Click the Lets Go button, Search for your school name.
Login Credentials
Your School may use a Single-Sign-On option or OAuth with Google or O365, then select the relevant Sign-in option. Your Administrator may need to switch this on via the Web Portal, to activate.
Go to: System Configuration >> General >>Allow SSO via Google

Essential Security information
Your Reach login provides you with access to important, private, and secure information about staff, students, and parents in your boarding community. It is vital that you access Reach from a secure portal and only with your login to meet data privacy regulations and it is vital that you do not share your login details.
Sharing your Reach access login with unauthorised users may create a reportable breach of privacy incident for your school.
Navigating the Mobile App
Metrics View / Home Screen
You are welcomed to the App with a greeting, your school logo, the background image of your school.
Also in the top right corner is the Reach: Now messaging icon for fast access to the Communications area of the App. Tap this to open the Reach: Now feature. More information of this section is detailed in the Communications section below.
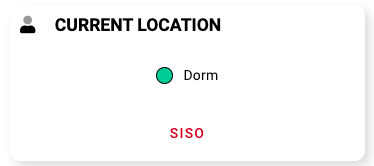
Current Location
Activity Metrics
Events

The student login allows access, only to students with previously proven authority. In this case the three sections detailing information for those Students that (Blue)‘can register’ (Green)‘are registered’ and (Yellow)‘are waitlisted’ for events available to them.
The Events section below details the functionality of this feature.
Communications
 Reach: NOW is an extension module that must be enabled for your school's portal and infinity permission settings enabled per user.
To Do’s
This Card is your access to the Reach Surveys and Lists features.
If a daily survey has been created for students to complete, a pop-up notification will appear once you login to the app.
Tap on the ‘Surveys’ button to access all surveys that have been created for you to complete, these may include Voting for end of Term awards, or General Health & Wellbeing. Follow the simple layout to complete and Submit.
Tap on the ‘ Lists ’ button to access the Lists that have been created by your school, these may include Daily Transport List, or Afternoon Activities. Follow the simple layout to complete and Submit a List.
The MORE section further details the functionality of Surveys And Lists within the Mobile App.
SISO and Quick Leave
Events
Reach Events is an Extension Module and was created to provide an efficient management tool for organising, sharing and managing recreation activities, excursions or events being held by your school.
Via the Mobile App, this section is mostly an information-based area, however the actions of registering/managing attendance can be done here. It is designed to show the Events relevant to your login type as created and managed via the Reach Web Portal by your school.
Login Type;
Students – this will show the Events a student is permitted to Manage without Parental consent
How to Navigate Events
Once you open the Mobile App and have logged into your account, the home screen will differ, depending on your Login Type. To access Events, dependent on type, an Events ‘Card’ may be visible on the Home Screen as you scroll down, if so, tap on the red word Events. On the large Red Menu bar across the bottom of the screen, this may also show the Events Icon, as can bee seen in the image below, tap this to open Events.
Once Events is open, you will be presented with Tabs across the top, again, this will differ per login type.
In this Parental Login example, we are presented with; Discover , Calendar , and Events
- The Student in this example is currently viewing the Discover section and is showing the Events available for the student highlighted red
- The first Event ‘Card’ that can been seen is showing a Blue Dot at the title, indicating it is and Open Event and the student ‘Can Register’ for this Event
- The current Event shows the Reach Logo by default as the Event image. When an Event is created by the school staff, an image can be added to represent the Event, and video files can also be loaded in the information section
- If you scroll down, more Event detail can be seen on the current ‘Card’
- If you Tap on the Event ‘Card’ it will open to reveal all available information as can be seen in the image to the right. To return, tap the Return Arrow in the top left
- In the minimised or extended ‘Card’ view, the red buttons Decline & Register can be seen, simply Tap as required
- To Tap either button will instantly activate that action, showing a pop-up to confirm
Calendar Tab
- When opening the Calendar, the current Month will always show, with a Blue Dot on the current Date.
- Tap the Calendar icon to open the current Day view, Tap it again to return to the Month view
- Tap the Left/Right arrows to move per Month
- When in the Day view, this will move per Day
- Registered Events will show as a small Black Dot on the associated Date
- As can be seen in the example below, this is July 7th, 10th & 16th.
- July 10th Has been Tapped
- This opens the Day view, where one event can be seen
- Hike in the Blue Ridge Mountains Has been Tapped
- This will open to reveal all available details for that Event
- Tap Register Button to register the student to attend the event
- You will receive confirmation as to whether you were successfully registered or if you were placed on the waitlist if the event is full.
-
Scroll down to view the Events
-
Here we can see by the red arrows on the left, this Registered Event is indicated by the Green Dot, other Events may show as still being Waitlisted as a Yellow Dot.
-
The red arrow on the top right, indicates a Black Arrow to the side of the title on the Card, this indicates that there are more Registere Events to view
-
Therefore, you can slide the card left/right to view other Events
-
If the Black Arrow is not visible, there are no more Events to view
-
The red arrow at the bottom right is showing the Unregistered Button
-
Tap this to withdraw from the Event
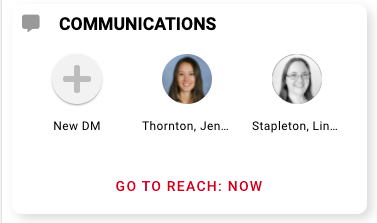
Communications
The Communications Card is your access to the Reach: Now feature, with ease of use via two methods; Direct Message Chat, and viewing posts in Noticeboards.
Reach: Now is a versatile tool designed to help you manage and improve communications within your school community. The system provides a secure, authenticated platform where your communication records are captured and historically reportable. Internal Messages utilise your Reach portal and External Push Communications for integration to the Reach Mobile App.
This is an Extension Module that must be enabled for your school's Reach Portal and Infinity Permissions must be enabled per user.
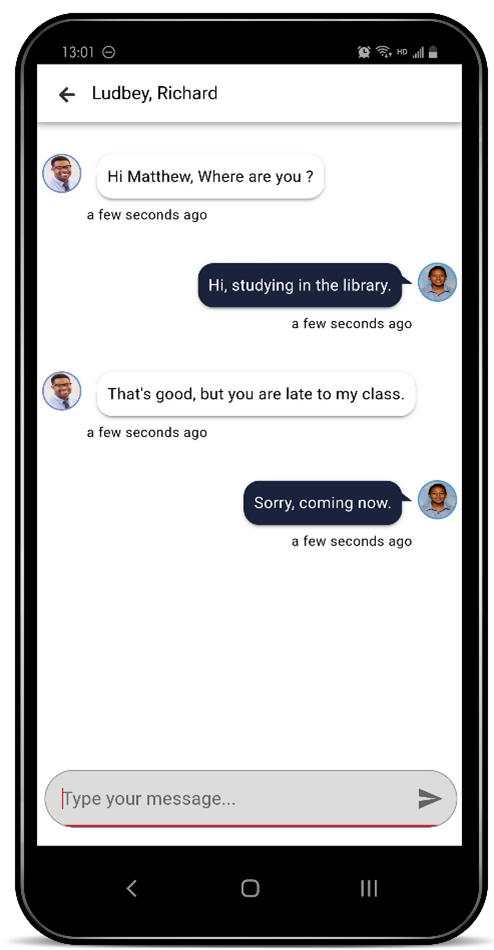
Direct Messaging (DM)
- Live chat is restricted to Staff type users connecting with other contacts in your Reach community
- Parent-to-parent, student-to-student, parent-to-student for example, are not possible in Direct Messaging
- There are no silent conversations in Direct Messaging, as all conversations are logged in Reach.
- The conversation can be reported historically and viewed in the relevant participant’s personal profile.
- All Direct Messaging records are maintained on individual user profiles
Noticeboards (Boards)
-
You can be included in an unlimited number of Noticeboards
-
Noticeboards can be open to all user types in your Reach community
-
The audience cannot reply to items that are published in Noticeboards
-
Users subscribe to Noticeboards on their Reach login or Mobile App
-
Subscribers receive notification alerts when information is published
Manage Leave
Viewing Existing Leaves
Creating a New Leave Request
Editing a Leave Request
Viewing Student Information
MORE …
Tap on the More button from the home screen to open extended functionality.
The available actionable sections will differ due to Login Type. Eg; Staff, Student, Parent
Surveys and Lists
Items are created and managed by your school, this feature allows an unlimited number of Surveys and Lists to be provided to students, parents, and staff. These are saved to your Reach Portal and are historically reportable. KB Article: How to Submit a Survey Response (Student)
My Account
- Name, Email, Phone, Date of Birth, Gender, and Address.
- Username, PIN, Security Question, Security Answer.
Diagnostics
This page provides one simple option, Run Tests.
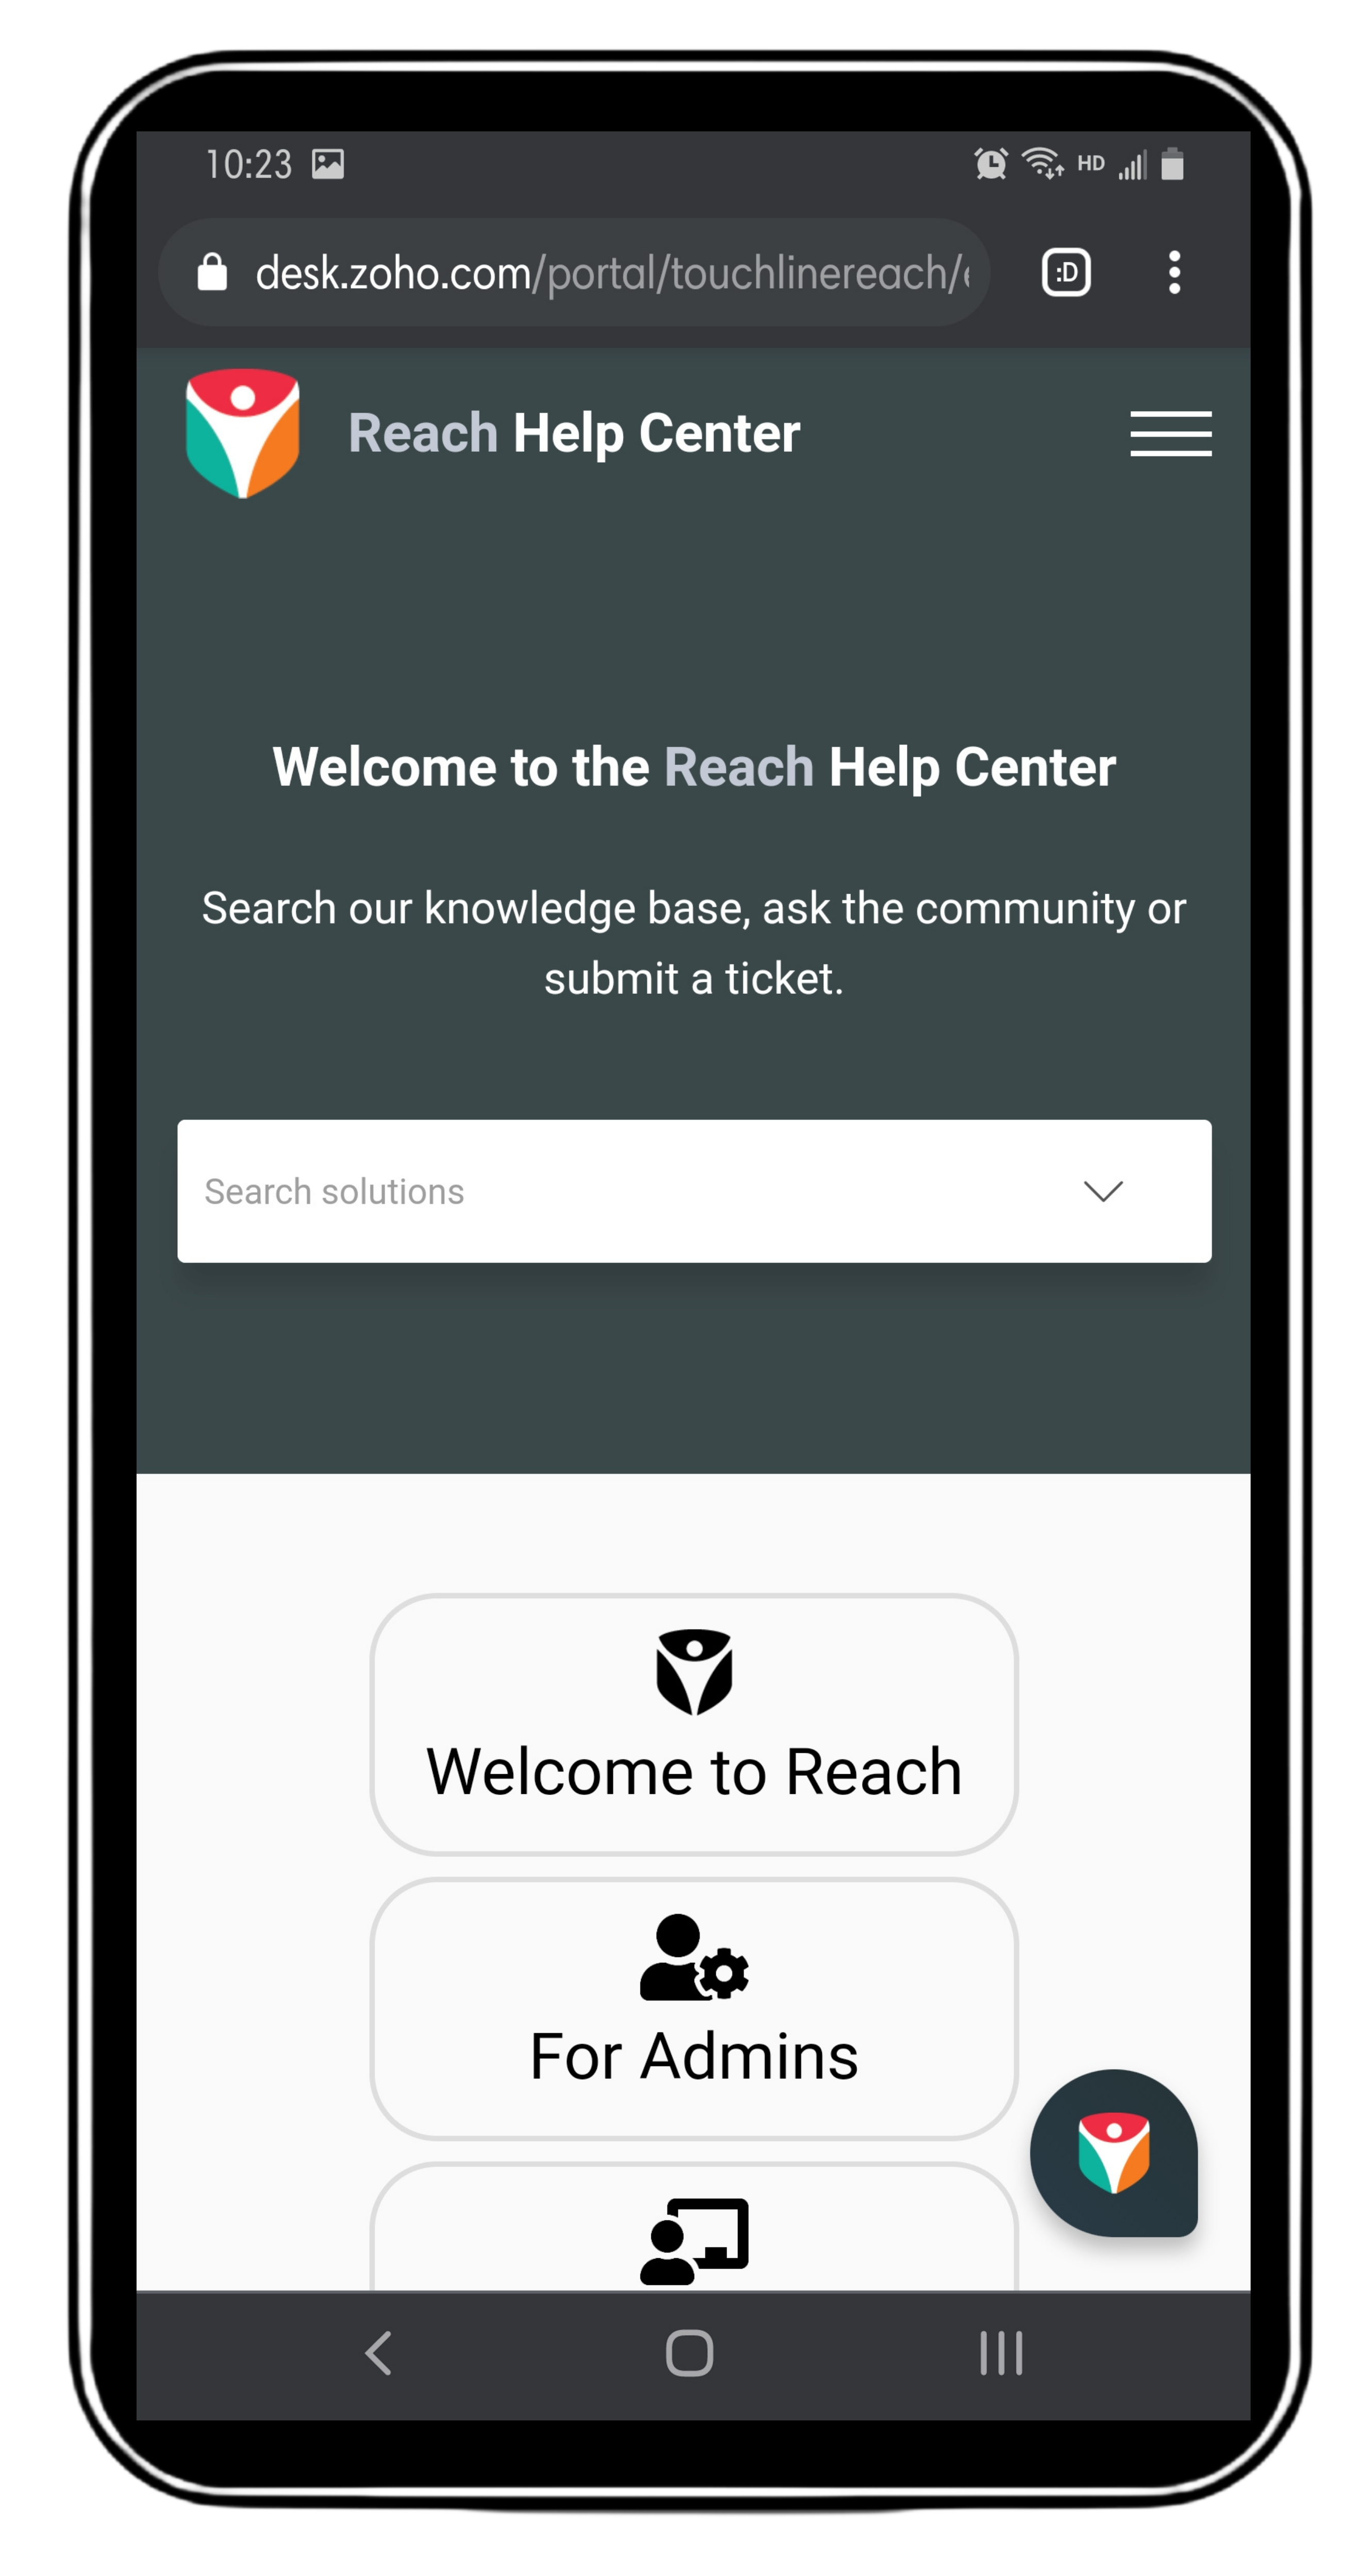
Support Website
This opens the Reach Help Centre in an External Web Browser.
The Support site areas are;
Your Area
Sign-in to activate Tickets. Here you can Create, Submit and View your previous logged Tickets
Knowledge Base
Your Library of data - Articles, User Guides, PDF’s and Tutorials.
Community
Be involved in the Reach discussion, scroll down or search recent comments.
The Reach team are active participants in the Community, answering questions or working with the Development team to provide solutions.
Change Log
The Change Log is a new feature added from June 2020.
This change log is a View Only area.
About
A brief about the Reach Platform and current Copyright.
Debug
An internal system to send data from your Device to the Reach Support team.
This feature is to compliment your Current Ticket with the Support Site.
NOTE: Sending this to Reach Support does NOT mean a Support Team Member will contact you.
To create a Ticket, please visit the Support Website
Quick Link: Reach Help Centre
School Management
This section is provided for those requiring access to multiple schools.
Eg; A Staff Member, Teaching at different locations or a Parent with multiple students at different Reach Schools.
Logout
When the button is tapped, a pop-up confirmation will ask if ‘you are sure’, as you will be logged out of ALL your attached schools.
Related Articles
ARTICLE: Parent Mobile App User Guide
Parent Mobile App User Guide The Reach Mobile App is designed for use as a transaction platform, it is free and available for use by all parents/guardians that have an existing user account. The Mobile App provides access to the majority of ...ARTICLE: Staff Mobile App User Guide
Mobile App User Guide The Reach Mobile App is designed for use as a transaction platform, it is free and is available for use by all users with an account on your Reach Portal. The Mobile App provides access to the major transaction elements of the ...ARTICLE: Reach Student Primer
Welcome to Reach Student Life Management The Reach platform is a student management system that is designed specifically for boarding schools. It helps your school to manage an extensive range of residential activities including leave, rollcalls, ...ARTICLE: Reach Events
Reach Events is an efficient management tool for organising, sharing and managing recreation activities, excursions or events being held by your school. Integrate with your Reach database Reach Events provides a seamless integration with your Reach ...ARTICLE: Reach Student Primer
Reach Student Life Management System for Students The Reach Student Life Management system is a student management system that is designed specifically for boarding schools. It helps your school to manage a whole range of residential activities ...